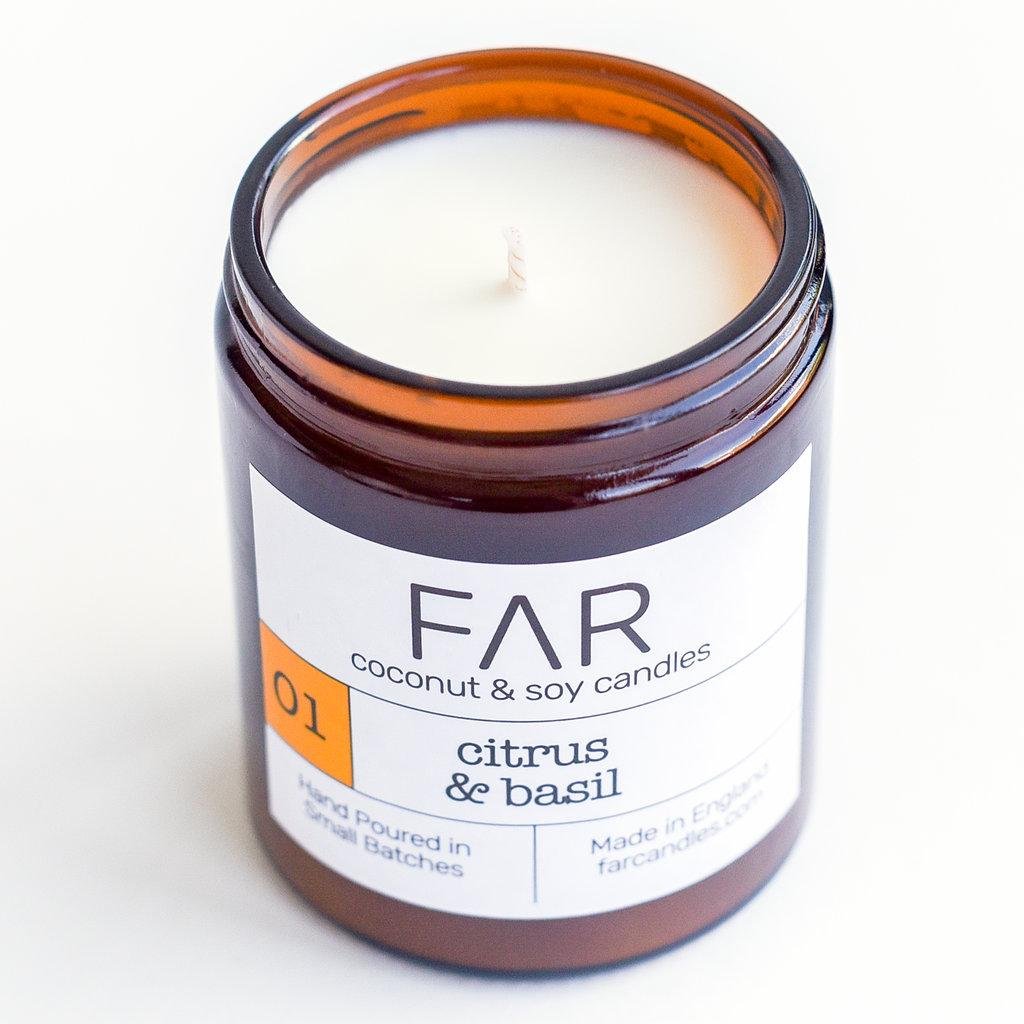
Discover the Best Brown Glass Jars for Candles: Enhance Your Home Decor with Style
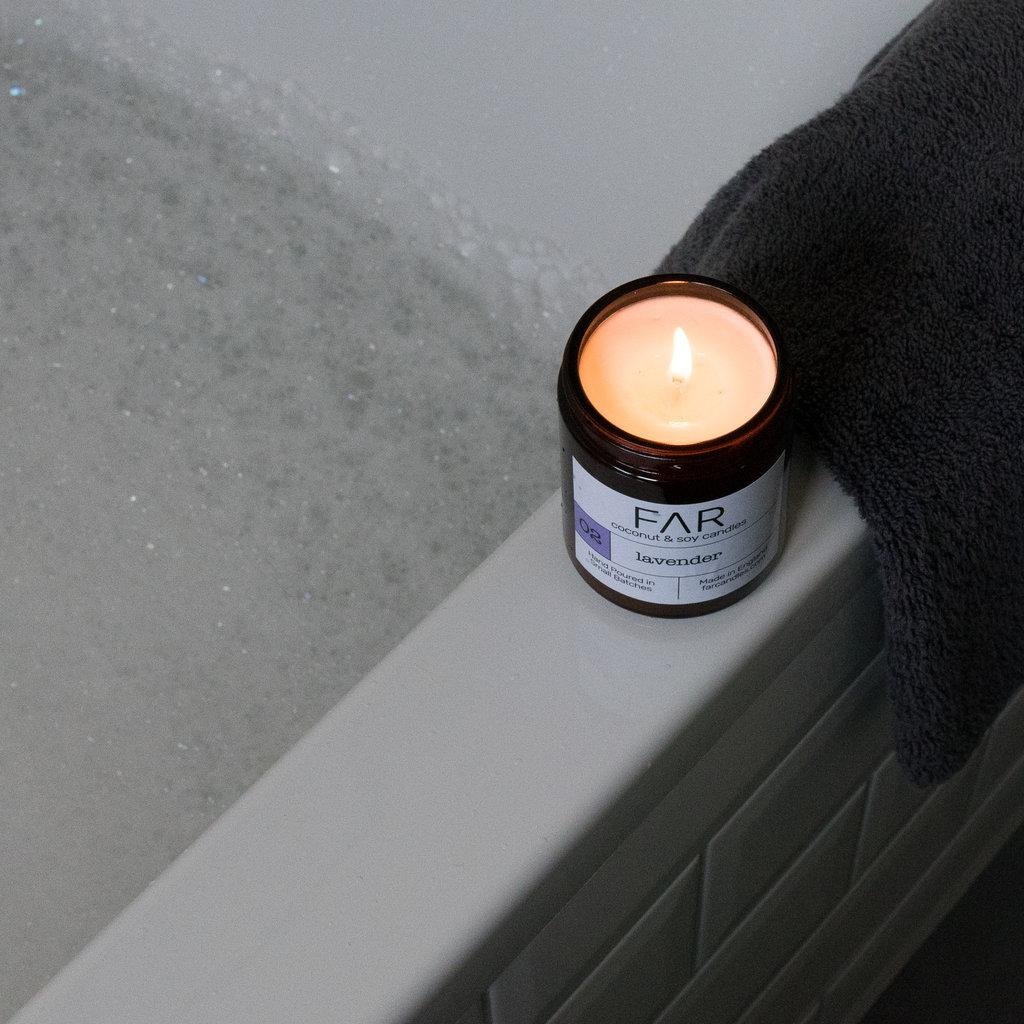
You can find the best brown glass jars with quality scented candles at FAR Candles. a versatile choice for your home decoration
Tunnelling in amber glass candles happens when only some wax around the wick melts, leading to a hole down the candle’s centre and leaving untouched wax at the sides. This issue not only affects the appearance of your candle but also shortens its burn time, as only a part of the wax gets used before the wick burns out. Now, to avoid this you need to dive into the causes and learn about proper burning techniques. Specifically, choosing the right wick for your candle can make all the difference – a knowledge we’ll delve into next.
Contents
ToggleTo prevent tunnelling in an amber glass candle, ensure you burn the candle for 2-4 hours during the first lighting to create an even burn. Additionally, trim the wick to ¼” before lighting and always place your burning candle on a heat-resistant surface. Following these guidelines will help maintain an even burn and prevent tunnelling in your amber glass candle.
Tunnelling is a common but avoidable problem that occurs when a candle isn’t burned carefully. Picture this: You light an amber glass candle, and it begins to tunnel down the centre, leaving a thick wall of wax around the edges untouched. This frustrating scenario not only reduces the total burn time of your candle but also leaves behind unused wax as the wick reaches the bottom.
Tunnelling happens when only a small portion of the wax surrounding the wick melts while the candle is lit, creating a vertical tunnel in the centre. This can be quite disappointing, especially if you’ve invested in a high-quality amber glass candle that you want to enjoy for as long as possible.
To avoid this, it is crucial to understand the two main causes of tunnelling: poor burning habits and improperly sized wicks. These are essential factors to consider not only for amber glass candles but for all types of candles.
For instance, if you don’t let the entire surface melt on the first burn, it sets the stage for tunnelling in subsequent burns. Additionally, if the wick is too small for the size of the candle, it will struggle to create a sufficient melt pool, leading to tunnelling. The next time you light your amber glass candle, keep these factors in mind to ensure a clean and even burn.
But what if your candle has already started tunnelling? Not to worry—there are methods to fix this issue before it worsens. You can try two effective methods: The Hair Dryer Method and The Aluminium Foil Method.
Now that we understand what causes tunnelling in amber glass candles and how to address it when it occurs, let’s explore more practical tips on preventing tunnelling by adopting proper burning techniques and care.
With a solid grasp of tackling tunnelling issues in amber glass candles, let’s move on to examining insights into selecting the correct wick for your candle to achieve an optimal burning experience.
The wick may seem like a small component of a candle, but it plays a vital role in its burning dynamics. Choosing the correct wick size is crucial in preventing tunnelling, a common issue that can affect the burning experience of your candle.
When it comes to wick size, bigger doesn’t necessarily mean better. A wick that’s too small can cause incomplete melting, leading to tunnelling, while a wick that’s too large might generate excessive heat and contribute to the same problem. So, how do you know what’s just right?
The diameter of your candle dictates the ideal wick size. For instance, a 2-inch diameter candle should ideally use a medium-sized wick, while a 3-inch or 4-inch diameter candle would require a large-sized wick for efficient burning. Matching the wick size with the candle diameter ensures even wax melting and discourages tunnelling.
Why does this matter? If the wax doesn’t melt evenly as the candle burns, it leads to unburned wax building up around the edges of the container, causing tunnelling. This reduces the total burn time of your candle and results in wastage of precious wax.
By carefully selecting the right wick size for your candles, you’re taking an essential step towards ensuring an optimal burning experience and avoiding issues such as tunnelling. It’s like finding the perfect pair of shoes – when they fit just right, everything feels comfortable and smooth. Similarly, the perfectly sized wick makes for an enjoyable and efficient burn without the frustration of tunnelling.
Knowing how to pick the right wick is just one piece of the puzzle when it comes to achieving a flawless burning experience. Let’s now explore methods for ensuring proper heat distribution within your candles.
When it comes to ensuring your candle burns evenly and avoids tunnelling issues, the first burn duration is key. Burning your candle for longer during the first use can make a big difference in preventing tunnelling. This is especially crucial for amber glass candles, as they require careful attention to prevent wax wastage and ensure an even burn.
Ideally, you should allow your amber glass candle to burn for 2-4 hours during the initial lighting. This extended burn time helps create a wide and even melt pool, preventing wax accumulation around the edges which leads to tunnelling issues.
For instance, picture a river that starts out narrow but becomes wider and calmer as it flows. Similarly, allowing the wax to melt uniformly during the initial burn sets the stage for a trouble-free burning experience.
Moreover, utilising the Aluminium Foil Method can be a game-changer when dealing with existing tunnelling issues in your candles.
By covering the top of the candle with aluminium foil and allowing it to burn until all the wax has melted and smoothed over, you can effectively fix tunnelling problems and restore your candle’s burn quality.
This method acts as a reset button, allowing the entire surface of the wax to melt and redistribute evenly across the container, reducing or eliminating any existing tunnelling problems.
In addition to these methods, maintaining an ideal room temperature for consistent candle burning and paying attention to factors such as wick size and distance between burning candles play essential roles in achieving optimal heat distribution for your candles.
Now, let’s shift our focus from candle care techniques to exploring another pivotal aspect of candle burn efficiency—the role of essential oils in enhancing the overall burning experience.
The presence of essential oils can significantly impact the overall efficiency of a candle’s burn. Essential oils are often used to add fragrance to candles, and some believe that they contribute to a cleaner and more even burn. The choice of high-quality essential oils can influence not only the scent but also the way the wax melts, affecting the overall performance of the candle.
When it comes to amber glass candles, ensuring that the essential oils used are of the highest quality is crucial for achieving optimal burn efficiency. Candles with essential oils typically have a burn efficiency of around 80%, while those without essential oils have a burn efficiency of approximately 90%. This means that candles with essential oils may burn less cleanly and may not utilise the wax as efficiently as candles without essential oils.
Let’s consider an example: If you have two identical amber glass candles, one scented with essential oils and the other unscented, there’s a higher likelihood that the scented candle will experience tunnelling and uneven burning. This is due to the impact of essential oils on the way the wax melts, potentially contributing to tunnelling issues if not carefully managed.
Moreover, it’s important to note that candles with essential oils are more prone to tunnelling, which can lead to wastage of wax and reduce overall burn time. Tunnelling occurs when only a small portion of the wax surrounding the wick melts while the candle is lit, creating a vertical tunnel in the candle. This makes it vital to select candles with high-quality essential oils to minimise these effects.
In essence, understanding how essential oils can affect burn efficiency is crucial when selecting candles, particularly when aiming to avoid tunnelling and maximise the longevity of your candle’s burn. Now that we’ve explored how essential oils impact candle efficiency, let’s transition into understanding why staggering candle usage is a key practice for maintaining their quality and lifespan.
Have you ever noticed that sometimes your candle burns down in a weird way, leaving wax at the edges and creating a tunnel-like hole? It’s called tunnelling, and it happens when the wax around the wick doesn’t melt evenly. This not only spoils the aesthetic but also reduces the total burn time of your candle. So, what’s the best way to avoid this?
Imagine your candles as a team, and each member needs equal playtime. When candles are lit, they should have enough time to create a nice, even pool of melted wax across the top. This is where staggering their use becomes so important.
By rotating the use of your candles, you give each one a fair chance to burn properly and evenly. This helps prevent tunnelling and ensures that you get the most out of your candles.
For instance, if you have multiple candles, rather than burning them all at once, rotate which ones you light. Let each candle take its turn to shine and burn evenly.
Regularly staggering how you use your candles might seem like a small thing, but it makes a big difference in:
So next time you light up your favourite candles, remember that they deserve equal burning time to stay looking good and burning well over time. Rotate them frequently and watch how beautifully and evenly they burn down.
In ensuring effective candle care and longevity, different approaches can be adopted to maintain the quality of your candles. Let’s now explore additional tips for preventing tunnelling in candles.
When it comes to preserving the integrity and prolonging the burn time of your beloved candles, every small step adds up. Here are a few additional tips to consider:
One factor that might not immediately come to mind when maintaining candles is where they’re stored. To prevent the wax from softening or melting unevenly before being burned, it’s crucial to store candles away from direct sunlight and any sources of heat. Keep them in a cool, dry place to ensure they maintain their shape and don’t warp due to exposure to excessive warmth.
Imagine your amber glass candles as delicate flowers; they need the right environment to thrive. Position them in a spot where they won’t be exposed to harsh rays of sunlight, just like you would place an actual flower away from direct sun to keep it fresh. This simple act of thoughtful storage can significantly extend the life and appearance of your candles.
Another critical aspect of candle care involves regular wick trimming. Before each burn, trimming the wick to ¼” ensures a safer, smaller flame which reduces the risk of soot and promotes even melting. The length of the wick directly affects how your candle burns; too long and it may cause flickering and uneven burning, contributing to tunnelling issues. By maintaining a short wick, you help create an ideal environment for an even and clean burn.
Regular trimming isn’t about stifling your candle’s potential but rather nurturing it for long-lasting performance. It’s akin to grooming a bonsai tree—it requires a delicate touch and keen attention to detail for optimal growth and beauty.
By incorporating these additional tips into your candle care routine, you are actively ensuring that your candles burn evenly, maintain their aesthetic appeal, and contribute to a safe and cosy ambiance within your space.
Take a look at our scented candles with an amber jar at Far Candles to add a warm glow and delightful fragrance to your home.
You can find the best brown glass jars with quality scented candles at FAR Candles. a versatile choice for your home decoration
Knowing how to clean and maintain your amber glass candles doesn’t have to be tricky. Simple steps can significantly extend their lifespan